
My fascination with keyboards started when the backlit keyboard I’d been using for 3 years started to fall apart, I wanted something that would last. One thing came to another, and I ended up diving down the rabbit hole that is mechanical keyboards and found longevity and sustainability and mostly ignored in the entire computer peripherals space. I ended up getting a Unicomp terminal keyboard as the original keyboards from IBM still work to this day, but I had an urge to develop and sell a more sustainable mechanical keyboard.
I’ve been working on prototypes with my newly acquired CNC router for some time now, and have been through many iterations, finding multiple tools and cut files online to try and get to a functional keyboard (as well as struggling through the teething problems of a hobby CNC router) but I’m now very close to having a few working prototypes for usability testing.
Building my own keyboard
Before diving into making a keyboard completely from scratch, I wanted to see what the budget mechanical keyboard market looked like and how hard it was to assemble a keyboard myself. I chose Matias Quiet Click switches based on a the high tactile bump and quiet sound and an inexpensive PCB, case, plate and keycap set with some cheap stabilisers. I found soldering quite easy and had everything assembled within about an hour or 2, and although the documentation for the PCB firmware was a bit hit and miss, I was able to flash the firmware to have a functional 60% keyboard which I still use today.
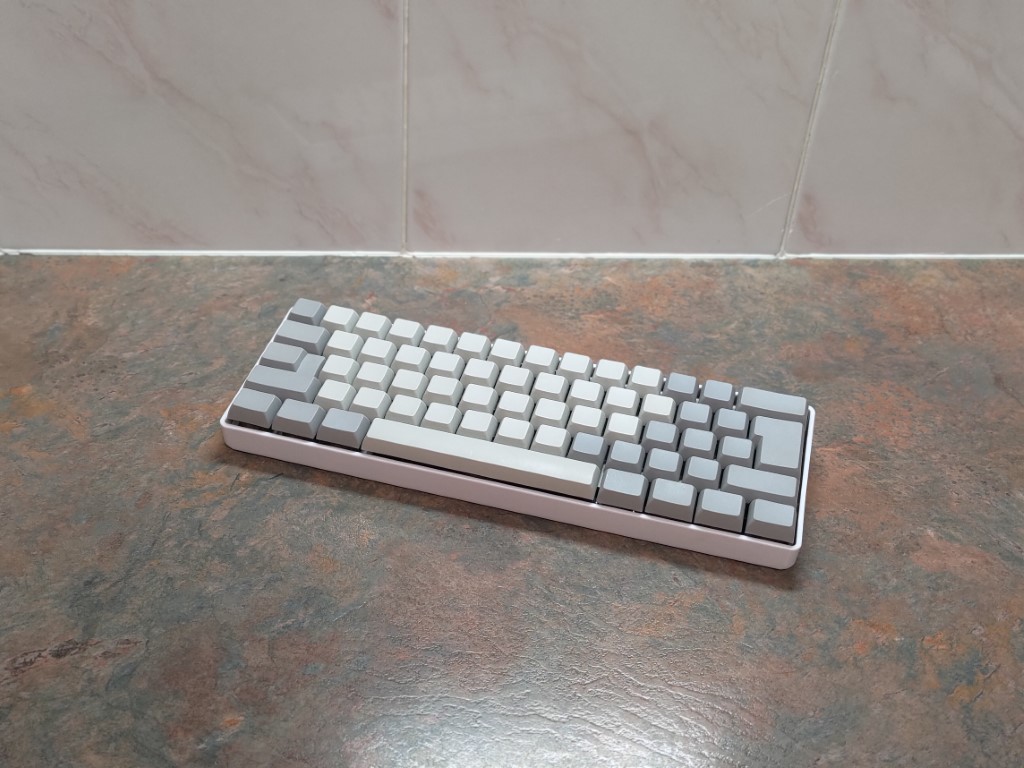
This experience did show me a few things:
- Don’t use alps style switches, the keycap set was really hard to come by
- I’d need to create internal documentation for the firmware flashing process or maybe even automate it
- I can’t cheap out on stabilisers, the ones I got were terrible and very rattly
- I prefer the feel of my Unicomp Keyboard, so anything I make for myself will need a metallic click
Designing everything from scratch
With my 1st hand research done, I then wanted to design an entire keyboard from scratch, PCB and all. Though I only had access to an old version of Pro Desktop from 2005 for CAD software and no idea how to design a PCB. After trying to lay everything out in pro desktop and crashing it many times, I sidelined working on the plate and case and begun work on the PCB, downloaded keiCAD and was promptly overwhelmed. I did eventually find this tool that did help with a layered design, but not knowing how to design PCBs had me at a standstill.
Working with an off the self PCB
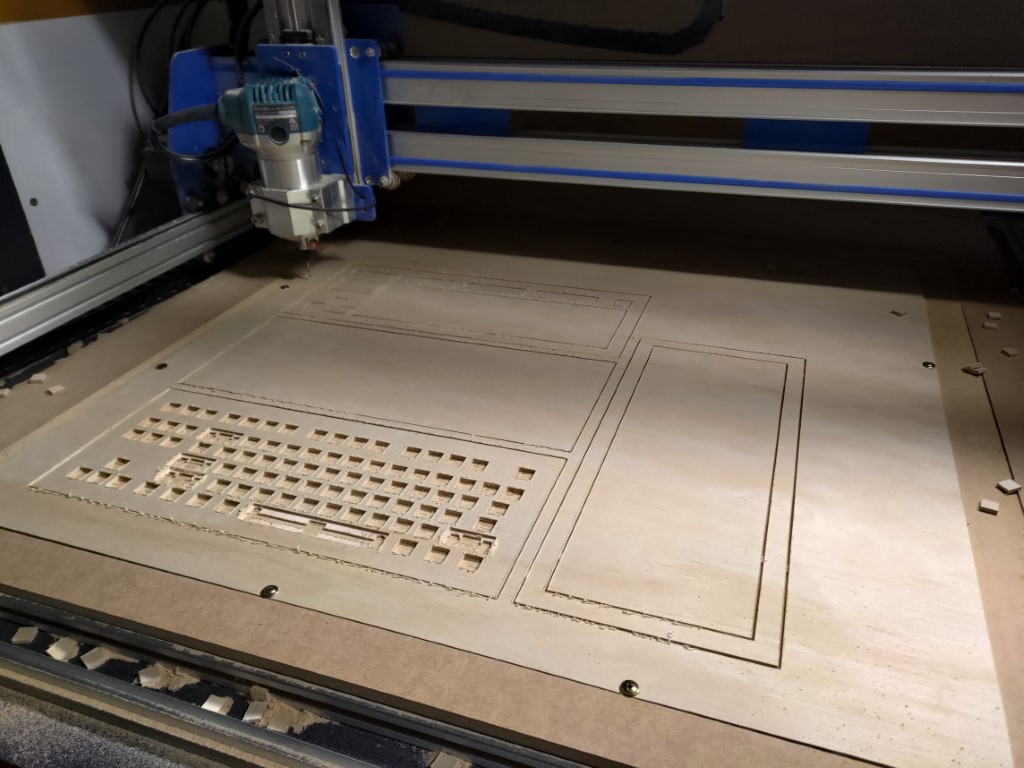
With designing my own PCB not being an option, I looked back to the place I got my 1st PCB, and they had one that suited my needs. Using it, and the tool I mentioned earlier, found out the CNC router I purchased and built from BlueCarve CNC wasn’t set accurately enough to cut the plate that holds all the switches. After some research, adjustments and many plate prototypes later, I had a functional 1st prototype including some simple keycaps.
This prototype was invaluable, and really highlighted the following:
- Keycaps will need to be a different project entirely, making this more of a keyboard case, plate and PCB design project
- Selling these as barebones kits might be an option as it was very easy to build the layered design
- The layered design is a lot easier to make, but is quite bulky and not as nice to look at, so I want to break out into 2 designs, 1 cheaper, 1 more premium
- I should be testing and checking my CNC router every now and then and adjust as needed
Looking to Open Source
While doing some research, I stumbled across this resource on github which had a bunch of open source keyboards, cases and PCBs and found that the Garbert is very similar to what I wanted to create and had an MIT license which means I could use it for commercial use. I was considering doing this, but I didn’t want to make a 60% keyboard, neither did I want a screen or knob as it might drive the more mainstream market away. I’m also way too proud to just use someone elses design.
In this list, I did find a range of PCBs called Voyager which I plan to use for the final keyboard design, and means I don’t need to delve into PCB design yet.
Also on the topic of open source, begun using freeCAD around this time too, which is far easier to use than a 20 year old CAD software, and it trades blows with what I am educated on, SolidWorks, so I’ll be using it from now on.
Now, and looking forward
PCB
As of right now, my holdup is getting my hands on one of the open source PCBs. I’m currently working out how to place an order for a small quanitity of PCBs that are fully assembled, but it seems the industry tries to make it as hard as possible for people new to everything to order prototype PCBs. I am looking to get in touch with CircuitWise which is a NSW based PCB manufacturer who also does assembly, though their website is far from helpful so I am going to need to call them. After this is done I can move onto the following steps.
Skew 1
Skew 1 will be based on the original concept of a layered design. It’ll be more cost effective due to the wood I can get from Koenig Machinery. The poplar panels come pre finished so I don’t need to clear coat or stain the wood which reduces production time from a few days to a few hours.
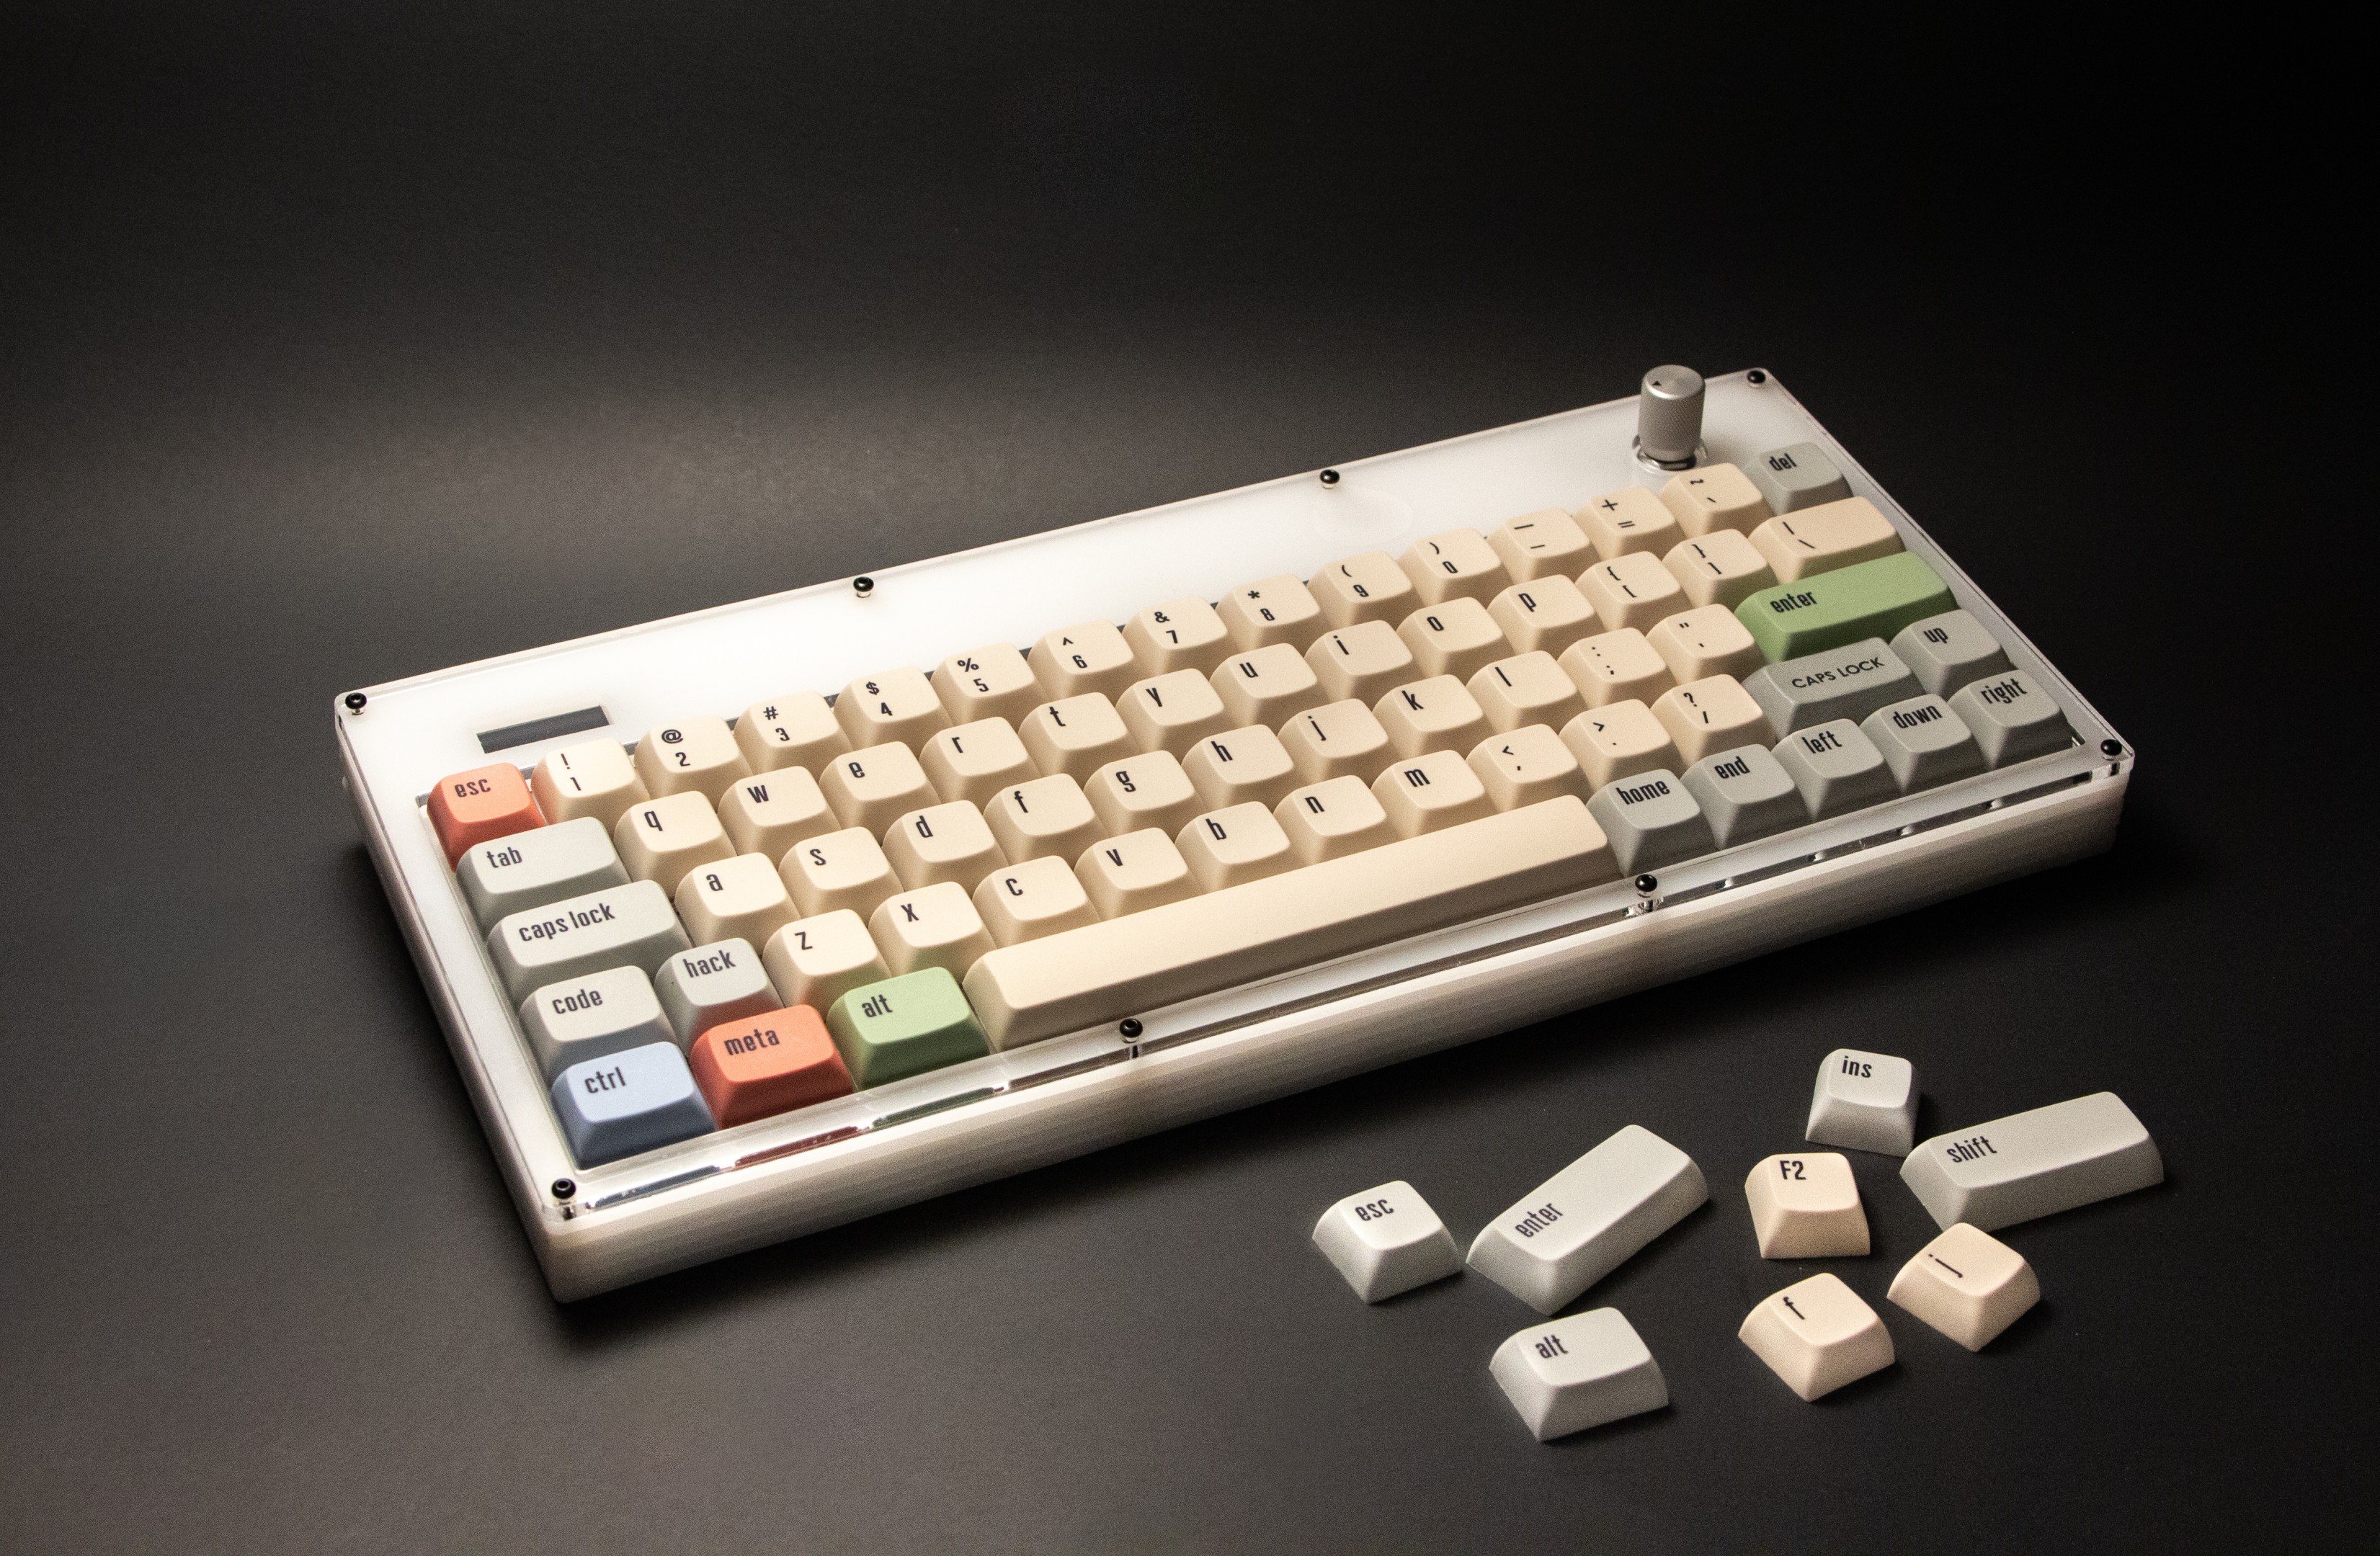
Skew 2
Skew 2 is a more conventional mechanical keyboard design with a bottom case and keycap plate. The bottom case will be made with solid wood and CNC’d out, and the plate will use higher strength Plyco plywood for less flex while typing. The main par that sets the 2 skews apart is the standing staining and clear finishing step in the manufacturing process, which is why skew 2 will be priced as a premium option.
Keycaps
From experimentation, keycaps are going to be a lot harder than 1st thought. I will need to build custom jigs to cut them, and skew 1 (and possibly 2) keycaps will need plastic inserts which is why I want to break off this part of the mechanical keyboard project to it’s own thing because it’ll need it’s own prototyping.
Kits
The fact that keycaps will be another major wait for this project, I am considering releasing Skew 1 as a kit that has BYO keycaps and keyswitches. These kind of kits seem to be very popular so selling it and getting a start to cashflow should be very helpful with both subsidising prototyping and motivation to finish the keyboard.